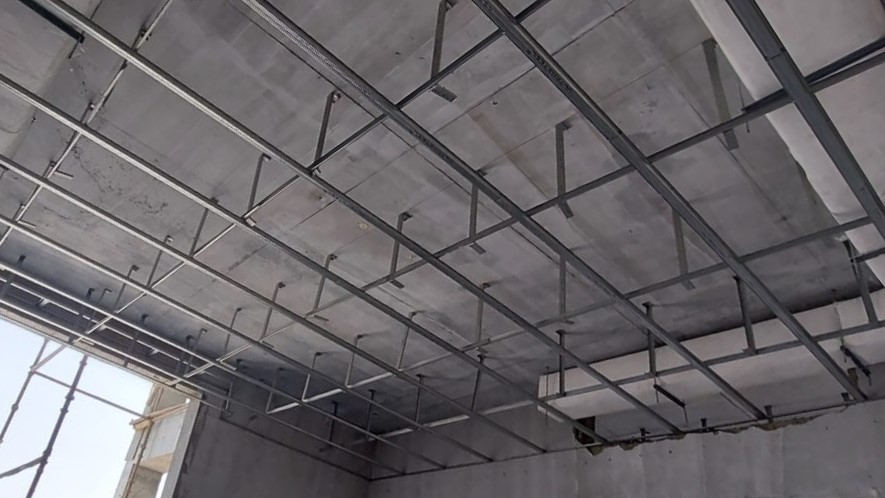
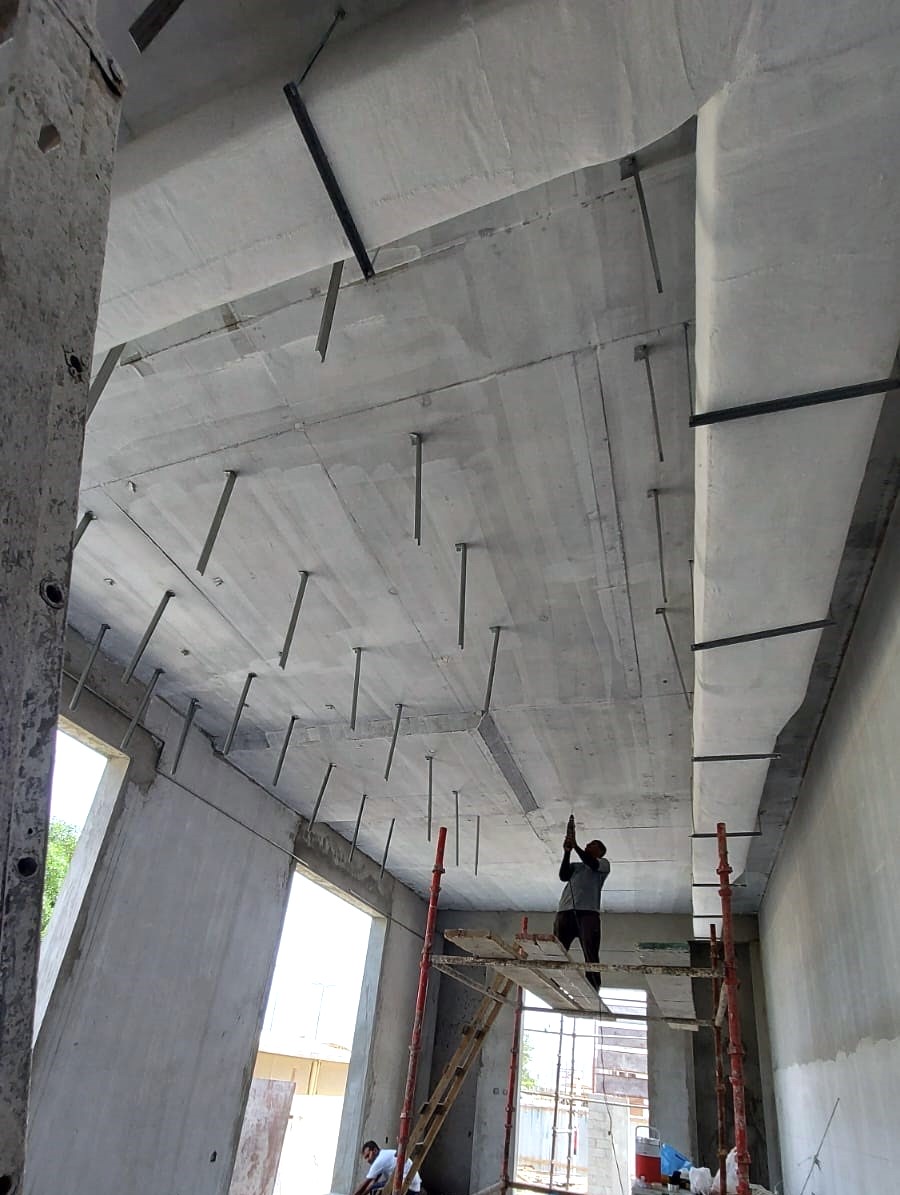
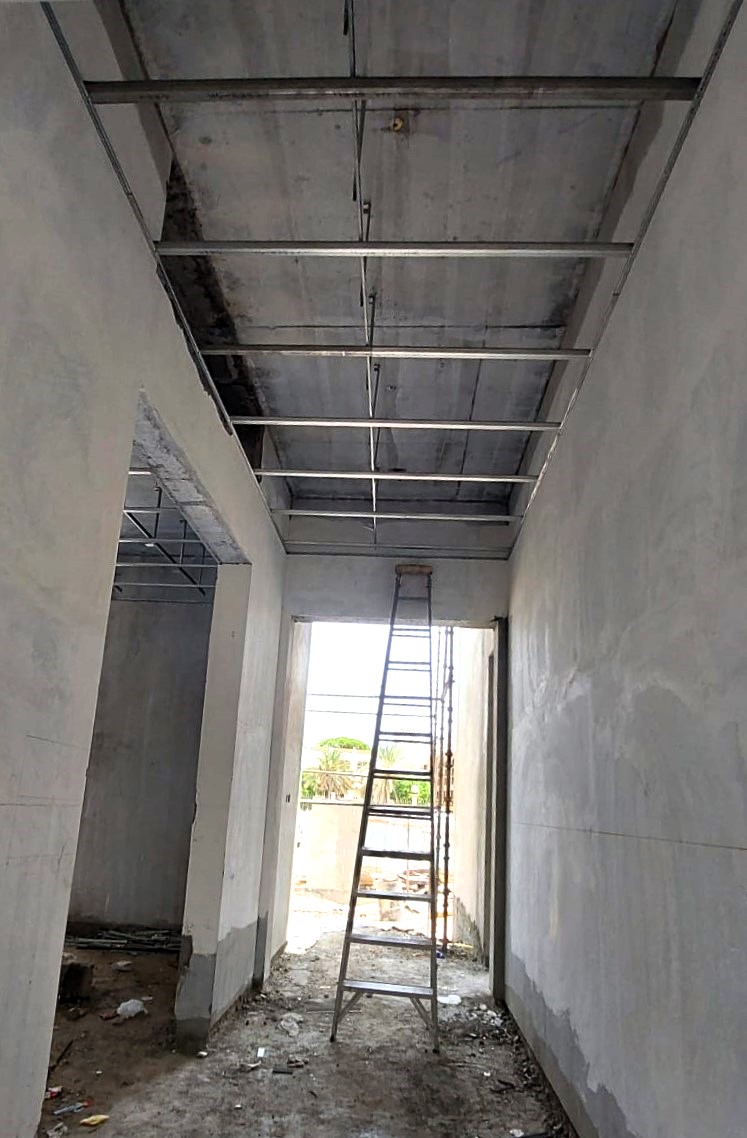
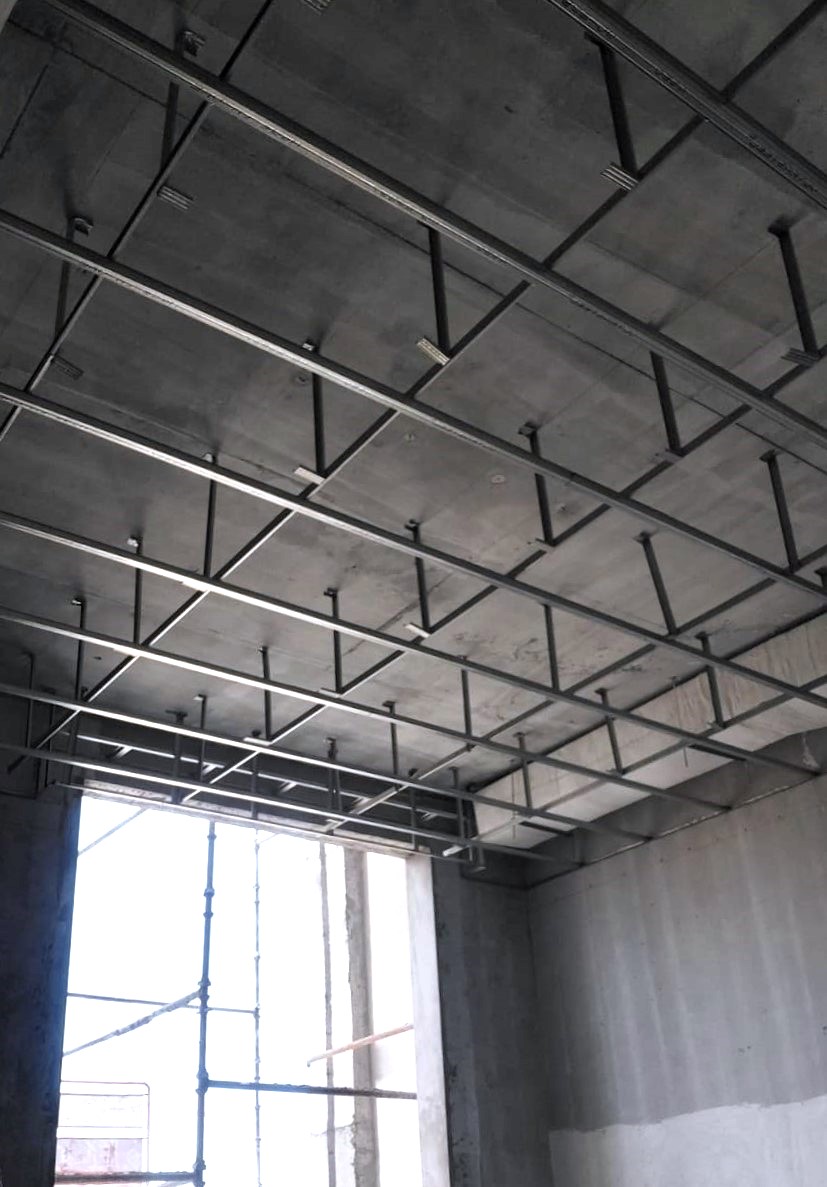
Gypsum false ceilings requires metal framing or metal structure which is combination of metal tracks and studs. Before installing metal structure for Gypsum ceiling, it is required to measure the area following the approved drawing by our clients.
Based on the design, we do line marking using Laser measuring and leveling tools to maintain the accuracy and proper levels from finished floor level. Also we calculate the area and identify the locations where the metal framing components will be installed. For example, metal corner or L-shape metal components are attached to the concrete slab (concrete ceiling) with steel nails for better support and leveling. Typically, metal tracks are attached to the walls, and metal studs are spaced at regular intervals along the tracks. Making sure the gap is equal between Furing channels and the lines are level.
Planning and Design:
- Determine the purpose and requirements of the ceiling structure.
- Consider factors such as aesthetics, functionality, lighting, acoustics, and any specific design elements you want to incorporate.
- Measure the dimensions of the room to calculate the required materials.
- Create a detailed plan or design sketch that includes the layout, dimensions, and any additional features.
Gather Materials and Tools:
- Gypsum boards (also known as drywall or plasterboard)
- Metal framing components (steel studs, tracks, and furing channels)
- Screws designed for use with gypsum boards
- Construction adhesive
- Measuring tape (Electronic)
- Laser Level
- Screwdriver or drill with screwdriver bit
- Utility knife
- Drywall saw or rotary tool
- Masking Tape
- Joint Tape
- Joint Compounds (including scrapper and sandpaper)
- T-square or straightedge
- Safety equipment (gloves, goggles, mask)
Cut and Install Gypsum Boards:
- Measure the dimensions of the ceiling area where the gypsum boards will be installed.
- Transfer these measurements onto the gypsum boards and use a T-square or straightedge to create straight cutting lines.
- Use a utility knife or a rotary tool to cut the gypsum boards along the marked lines.
- Lift each cut gypsum board into place, resting it on the metal framing.
- Secure the boards to the metal framing using screws. Ensure the screws are countersunk slightly below the board’s surface without breaking the paper facing.
Finishing and Jointing:
- Fill any gaps or joints between the gypsum boards using joint compound.
- Apply joint tape over the joints while the compound is still wet.
- Smooth out the joint compound and tape using a trowel, removing any excess material.
- Allow the compound to dry completely, following the manufacturer’s instructions.
- Sand the dried compound until it is smooth and flush with the surrounding surface.
Finishing Touches:
- Apply a primer coat to the gypsum ceiling structure to prepare it for painting or other finishes.
- Paint the ceiling using appropriate techniques and materials, or apply any desired decorative finishes.
Safety Rules:
We at Zoom Homes Décor, always specify our safety rules specific to our operations. Our workers are trained and have great knowledge about safety rules and regulations.
This guide and specified steps vary depending upon the project, as it is specific to this project only and not to be followed by individuals without proper training and skills.